Let me just start this by saying I did not handle this project well. What do I mean by that? I committed to doing a project that I had never done before, decided to work with materials I was unfamiliar with, and did not give myself the proper amount of time considering the previous two factors. I planned on finishing other commissions before starting this one, and because of some perfect storm events, I was left with roughly two weeks to finish these. If you get one thing from this post, know this: ALWAYS GIVE YOURSELF PLENTY OF TIME TO FINISH SOMETHING. How long will something probably take you to make? Cool, go ahead and double that. But this is the cosplay world, and things happen. Crunching before a deadline is basically part of the job! So with that, this build was rushed and I had to make some compromises to get it done in time. Okay, enough intro! Let's dive into these suckers.

First, some background! My current adult real world day job is an artist at a video game studio called Harebrained Schemes. We made a game called Shadowrun Dragonfall! I was commissioned by one of my friends, and coworkers, to make the cybernetic/robotic arms you see on the character in the picture above. Her name is Glory and she's pretty rad. Because I was running VERY short on time, I opted to compromise and skew more towards what her in game textures and model looked like. I can't post those here, but I'll say that they are simpler (as the game has a pulled out camera and lots of things are typically low poly, meaning simpler looking). I really want to remake these someday and make what we see in this marketing material.

This is my shop buddy Bobby. He's pretty cool. Here he's making some cheap body casts of my friend's arm. We all wanted to keep initial costs down, so we opted for the user friendly life cast method of plastic wrap and duct tape that we filled with expanding foam. It's a cost effective method that will hold up for the duration of the project. If you're going to be making a lot of armor, or other things that require working from a cast, you might want to consider a method that will last a lot longer. It's a worth while investment.

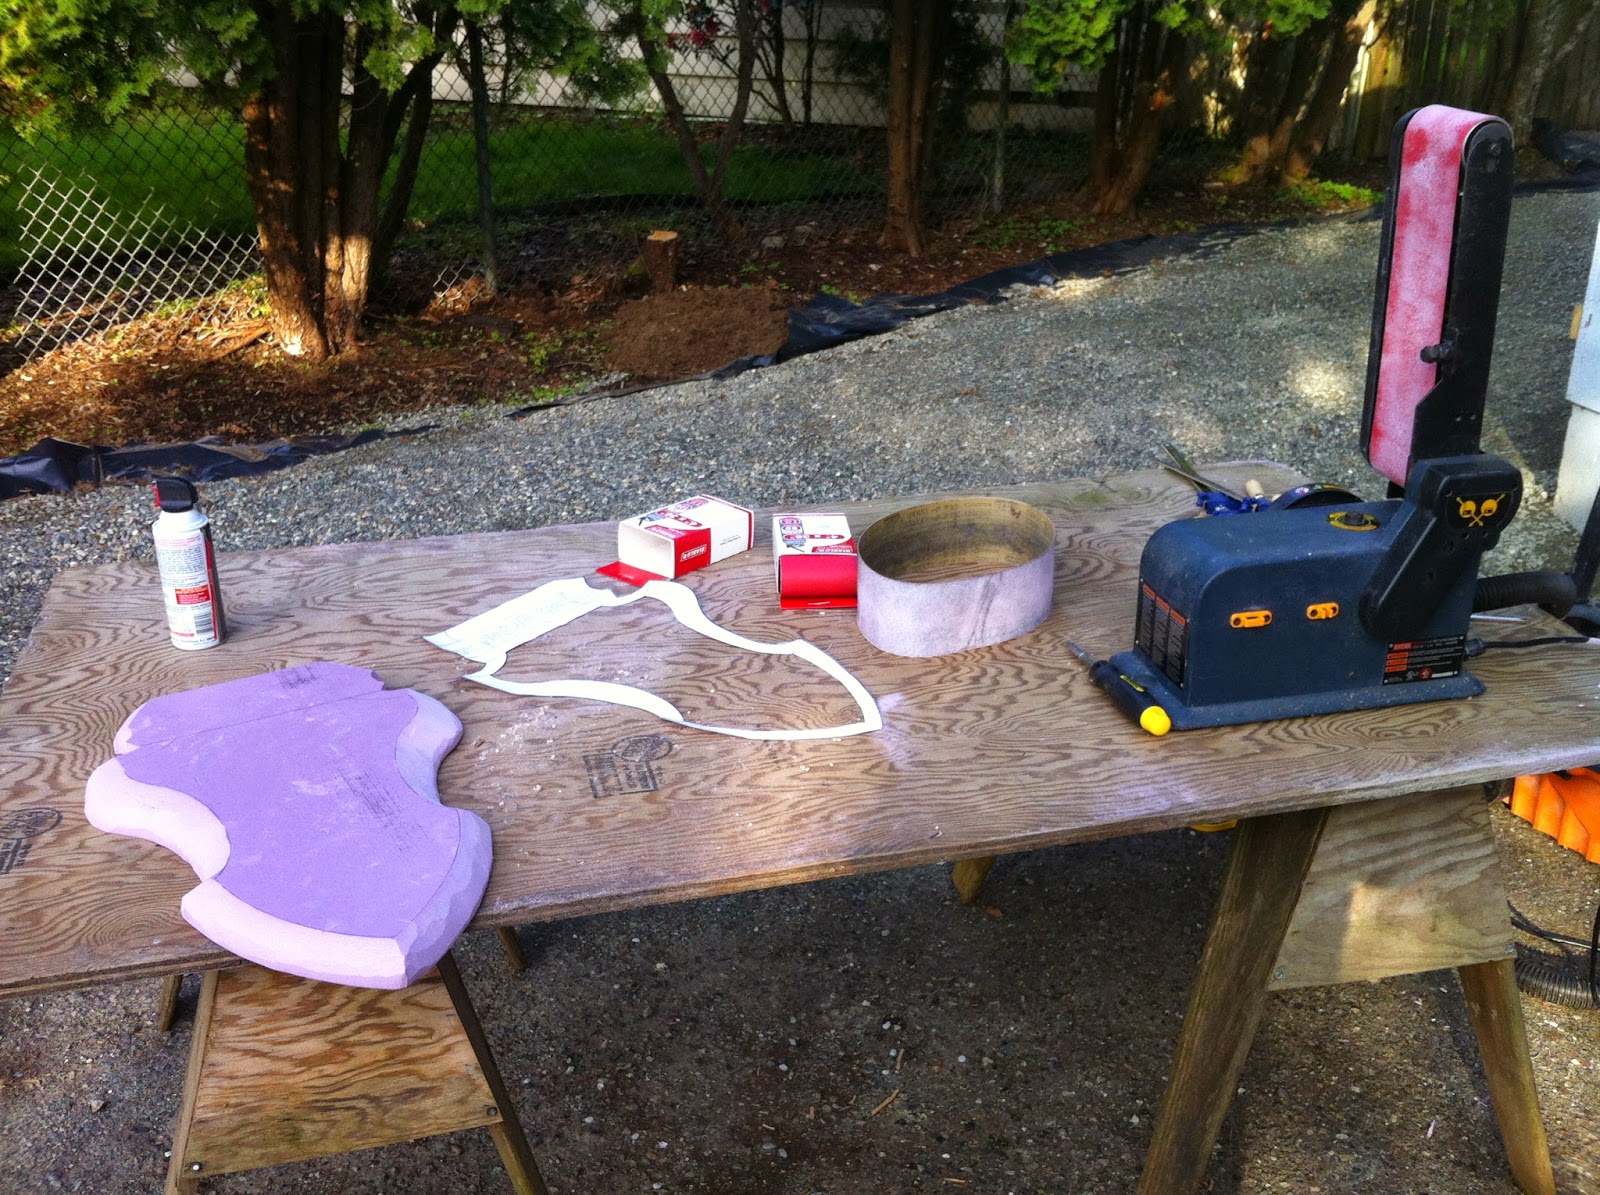
Now we're entering into the scary crunch time as I explained in the intro. Since I was in the red zone of time to complete this build I opted to break out my long neglected extra large worbla sheets. I decided to do this because worbla is very easy to work with. You can cut it with regular scissors, heat it with a heat gun, form it into the shape you want and then it firms up into a quite rigid piece. I opted to double up each piece rather than folding it over foam. That was just my personal preference, if you want to conserve materials then you can fold the worbla over the foam. I doubled up the pieces as they were more rigid, while the worbla applied to foam is still flexible. Being flexible might still be appealing to you if you're making armor. I might try it with other pieces in the future to see which I like better. You can see the foam pattern piece at the top of the photo. That was an initial design Bobby did when we were first concepting and trying to match the picture. I traced that onto the worbla and then I sketched out more arm pieces on transfer paper. These designs were based on the in-game texture as I mentioned earlier.

Pictures will be skipping forward quite a bit as I was trying to focus on just getting these done. Here I was putting the arm bits on while the larger pieces were sitting on the arm casts. I would often go back to make sure each step I applied would still fit on the arm casts. Realistically, I didn't really NEED to do that as the upper arm pieces were rigid and weren't shifting or warping while I was applying the pieces, but with how little time I had every safety measure I could think of was used to avoid catastrophe.

More pieces were added to the upper arms to match the texture sheets. I also assembled the main forearm pieces to start adding details.

The quickest solution I could think of to the "piping/wiring" bits on the arms was to use rubber tubing from the hardware store. The black sectioned tubing was chosen by the client. She liked the texture she gave and wanted them to be added. They didn't look too bad!

So here's where I'm going to plug a product. While watching and reading worbla discussions/tutorials, it seems a common solution to the texture it has is to cover it in wood filler. From what I've seen, this is a great solution! However, as we've talked about, I was running on no time. So what did I do? My shop buddy, Bobby, said it might be worth trying out the wood primer that he recommended to me while working on the Legend of Zelda sword. It's called Kilz and is actually a wood primer/sealer. Here's a link: Clicky, clicky!
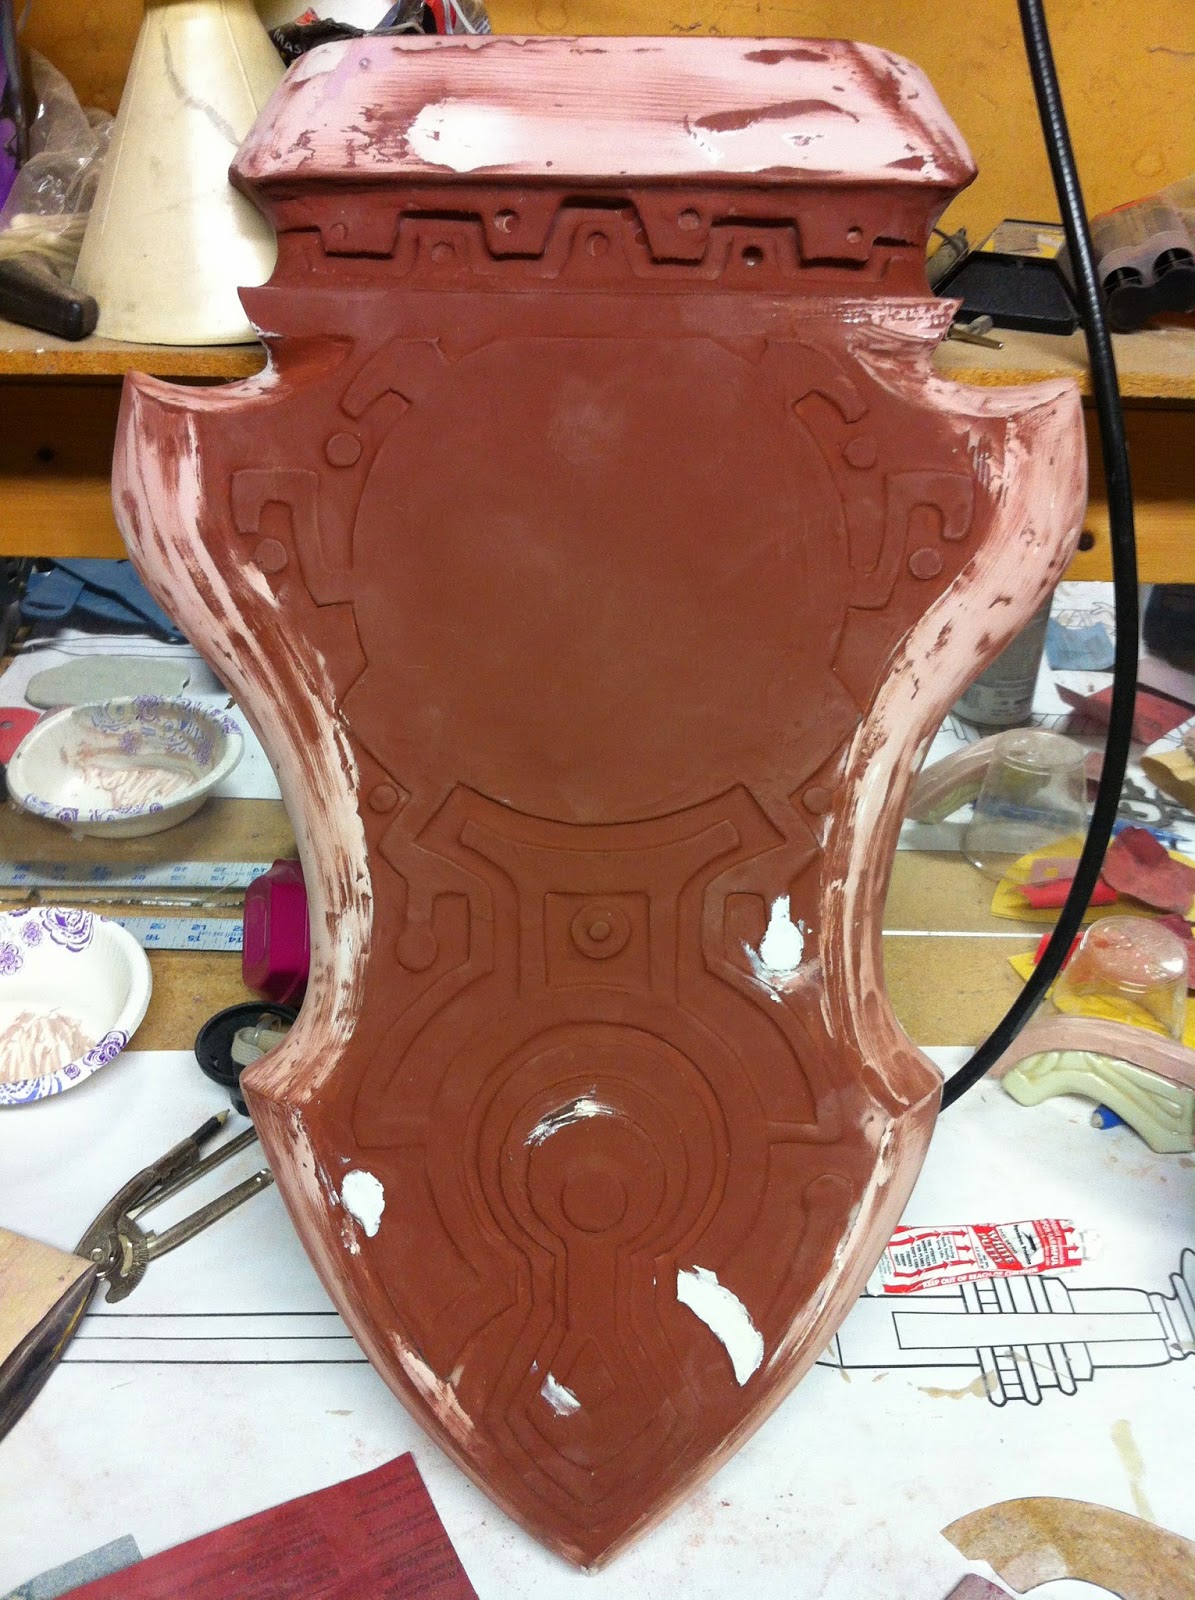
What can be nice about this primer is that it goes on thick. I tested this out on a piece of worbla and gave it 3 coats of Kilz. The end result was a semi smooth surface! If I had more time, I very well could have just plain sanded the primer and not even hit the worbla but still getting a smooth surface! I know because I tried on the test piece. I don't think you'd necessarily have to do 3 coats, as that would be a lot of paint, but it's a nice solution and definitely convenient because it's fast! Here the upper arms got the Kilz treatment.
What can be nice about this primer is that it goes on thick. I tested this out on a piece of worbla and gave it 3 coats of Kilz. The end result was a semi smooth surface! If I had more time, I very well could have just plain sanded the primer and not even hit the worbla but still getting a smooth surface! I know because I tried on the test piece. I don't think you'd necessarily have to do 3 coats, as that would be a lot of paint, but it's a nice solution and definitely convenient because it's fast! Here the upper arms got the Kilz treatment.


The arms in the marketing material seem to have a rounded top, so I tried adding some foam tubing at the top to reproduce this effect. This ended up looking too bulbous and wonky for my liking so I scrapped it and moved forward without trying to make them rounded.


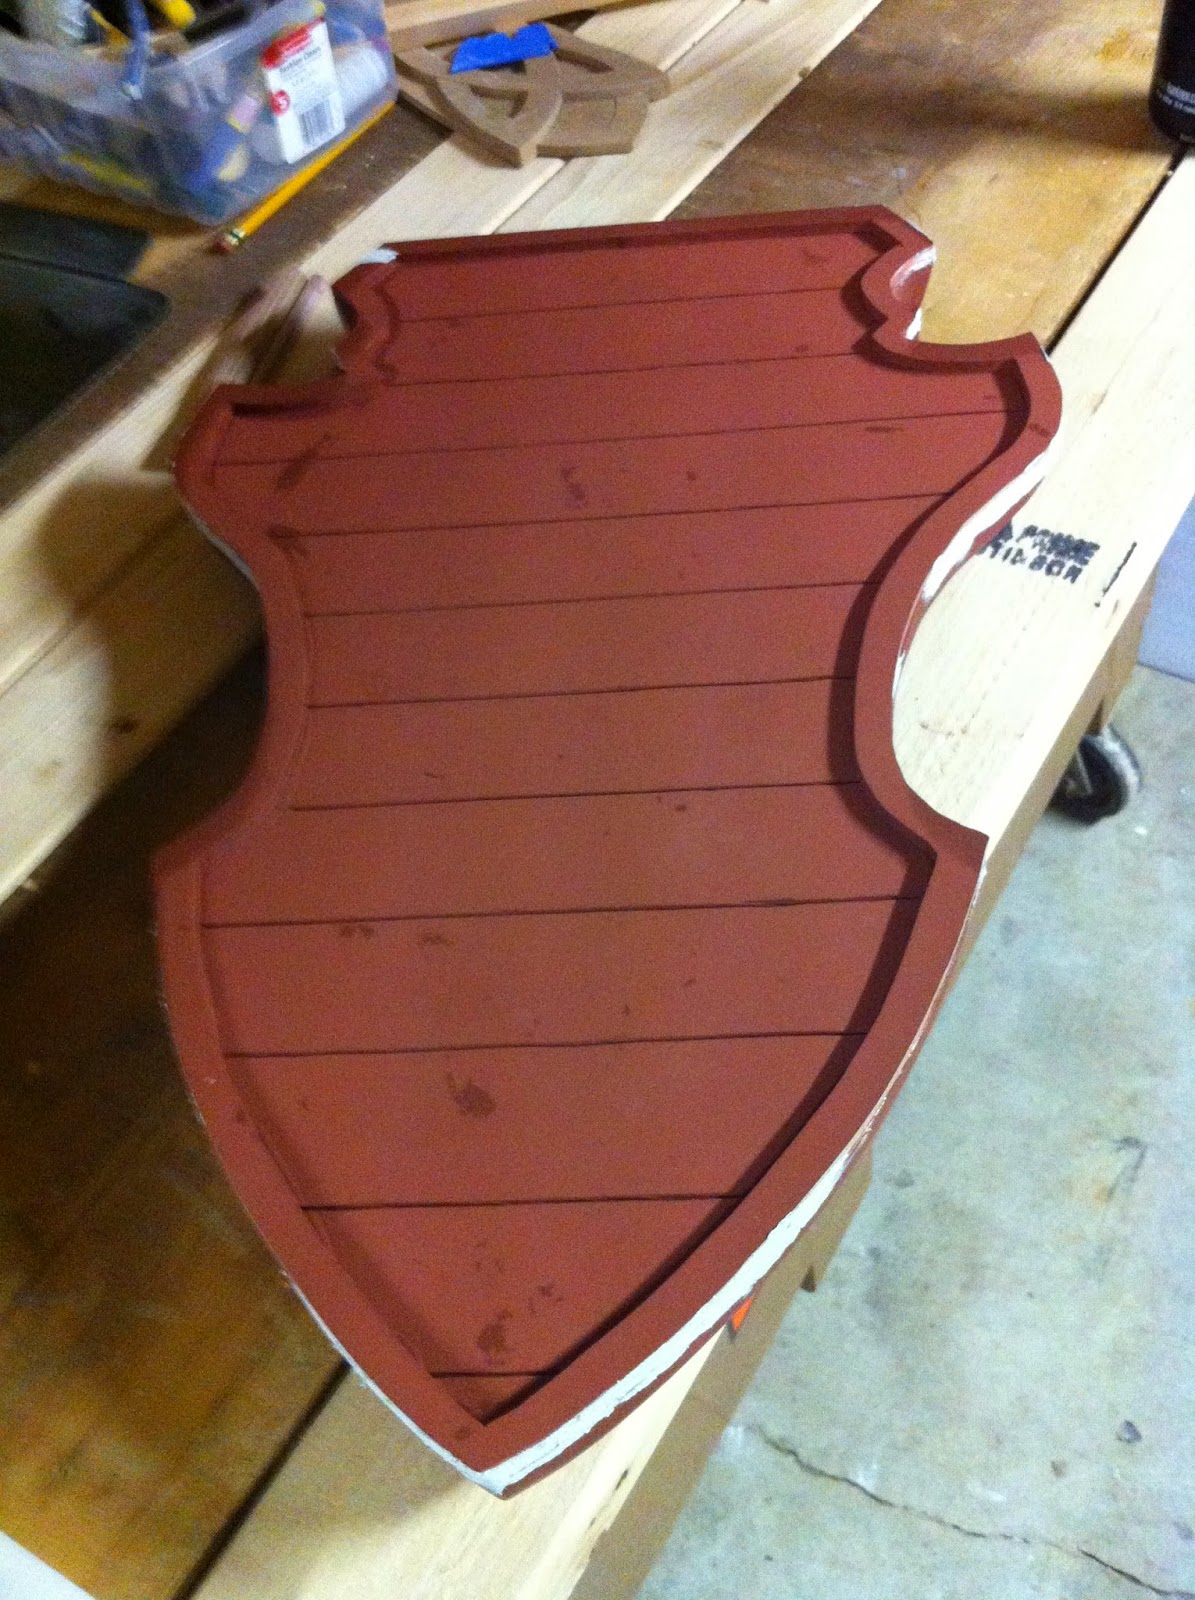
Details on the forearms! All of these were double worbla. I looked at the texture sheets, and freehanded the shapes of the pieces on transfer paper. I then traced those pieces onto worbla. In order to save time, I just turned the transfer paper upside down to get a reflected piece that would go on the opposite arm.

It's all comin' together!


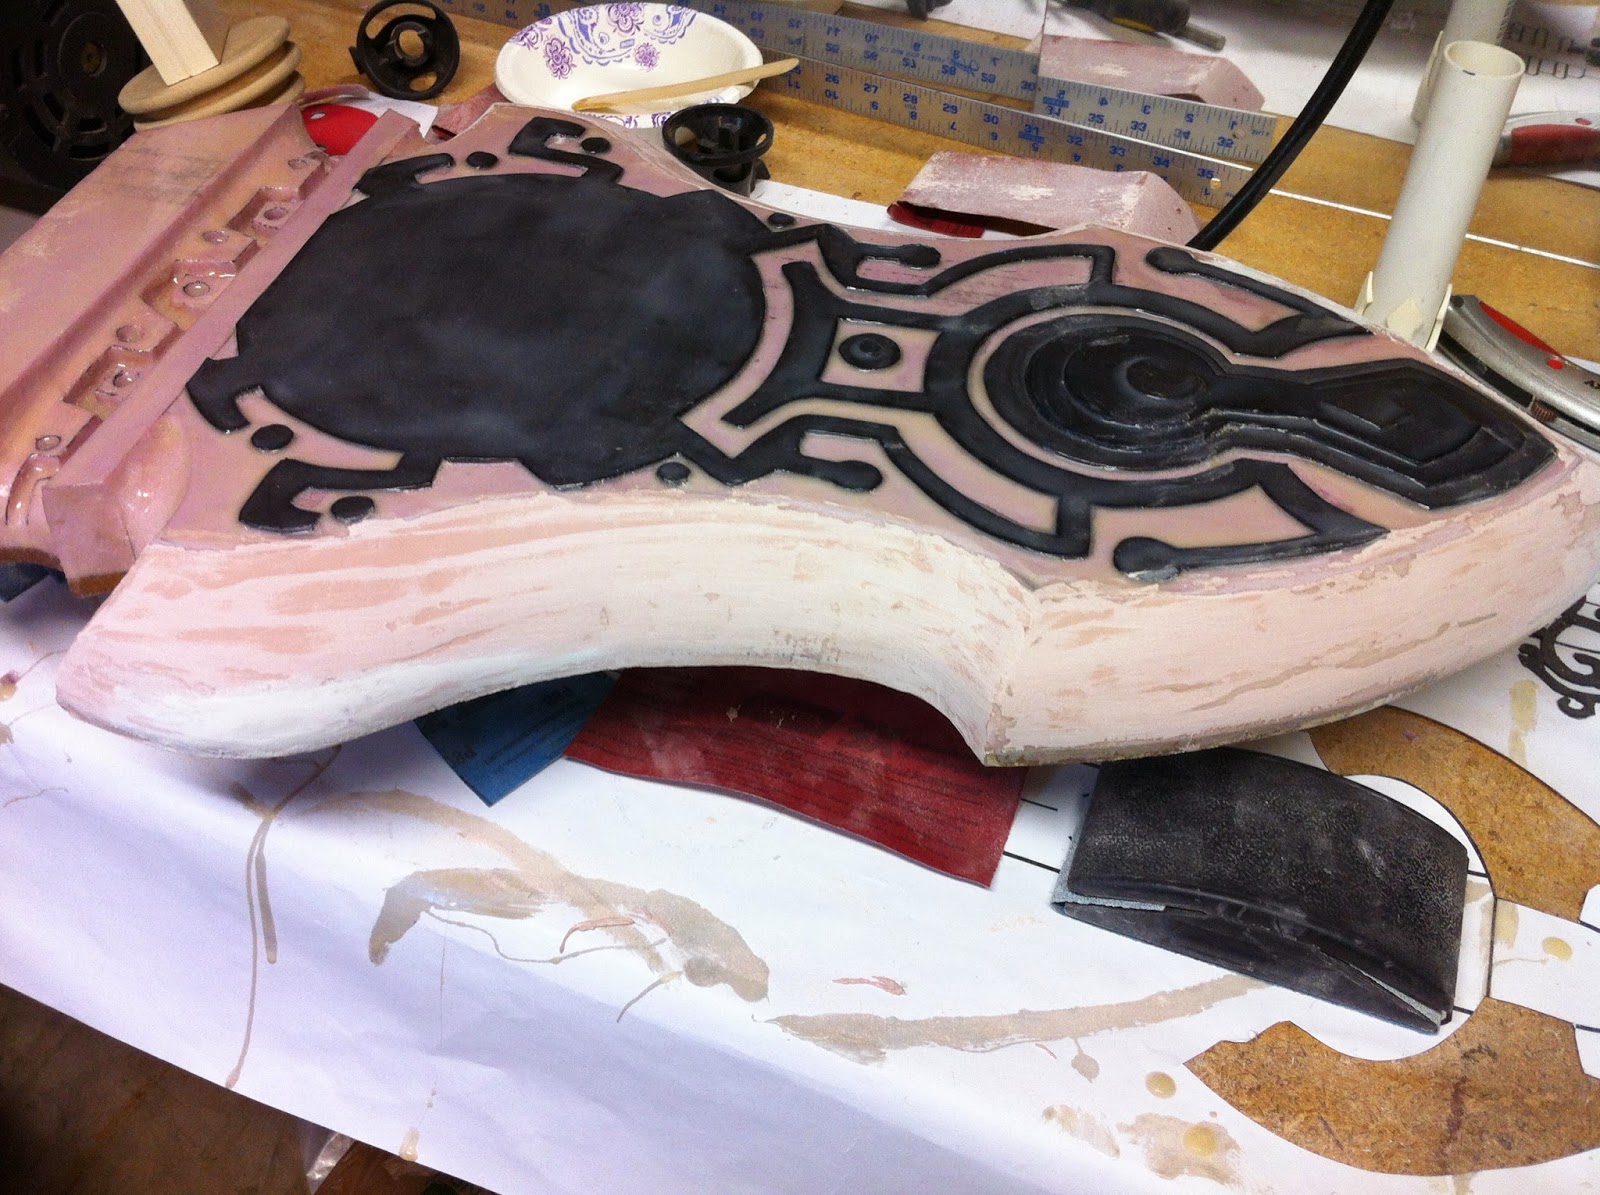
More tubing was added to the forearm section and apoxie sculpt was added to both pieces in order to make recessed bolt/"plug" areas.

The base coat on everything was a matte black and then a lighter coat of metallic black was sprayed over that. It gave a kind of faded black metallic look. The original intent was to use my airbrush to do all of this so I could use a metalizing lacquer, but I just needed to get it done and this method wasn't so bad.


After all of that paint was applied, I dry-brushed silver weathering on everything. It's a bit Giger-ish in contrast, but hey I'm an Alien fan, so why not?

The shoulder pieces were initially formed over my friend's shoulders, but I also used my own at times just to make sure everything was fitting. The bolts were done in apoxie sculpt and the large plug-like object on the corner are small plastic buckets that I lying around the shop. When time is running out, get creative!


At this point the convention was about a day away. I needed to really hurry, so I opted for a simple robotic hand method. The finger bits are all pvc, the inner and outer finger bits, with elastic running along the top and fishing wire running along the bottom. All of those run through a perpendicular pvc pipe and end at key rings that my friend can place her fingers through to move the fingers. The worbla was formed around my own hands. Quite conveniently, my friend and I have almost the exact same hand size! Such a happy coincidence. I formed the worbla around my hand, which means it was still hot when I did that. I do not recommend doing this. I had no hand casts made, but I would recommend making those for doing anything requiring things to go over hands.

The same paint treatment was applied to the hands!

All the pieces laid out! I used thicker foam for the forearms to make sure they fit snug around my friend's arms. The upper arms used 6mm craft foam. Everything fit snug, and only the shoulder pieces needed adjusting at 2 different points in the day. Not bad considering she wore these for about 9 hours!

And here is a shot of the completed costume! The gentleman in the picture is the creator and writer of Glory. As I said before, I want to remake this build if I ever have the time in the future. I want to make more complete (i.e. one piece) sections of each part. I also want mold and cast the pieces out of a much lighter weight material. Each piece wasn't too heavy, but considering she had these on her arms all day the weight added up and ended up feeling really heavy. Still though, I feel alright about where everything ended up considering how quickly it all came together. Thanks for reading! Until next time, cheers!